Trying to select a perfect workout routine can feel like eating at an endless buffet—you spend more time making a choice than actually eating.
There are countless different programs out there, but in general, most beginners will start with a program like Starting Strength or Stronglifts 5×5 and eventually graduate to a Push, Pull, Legs program. That said, PPL routines can work extremely well for beginners too.
If you value maximum results in the least amount of time, PPL routines are an excellent way to begin your fitness journey.
But even within the category of PPL programs, there is a lot of confusion. Why PPLs? What is a compound lift? Which accessory work should I do? Should I workout 6 days a week or 3?
This guide is going to answer all of the above and more, starting with the basics.
The Basics and Benefits of PPL Routines
For a PPL routine, you split your muscles into three groups and train each group on its own day. This allows you to push each muscle group to maximum exertion, and then rest that group for as long as possible before the next workout.
The original split created by old school bodybuilders worked back and biceps on the first workout day of the week, chest and triceps on the second day, and legs and shoulders on the third day.
For a while, that split was a popular jumping-off point for fitness newbies.
When it comes to PPL splits, here are the different muscle groups:
- Push: chest, shoulders, and triceps
- Pull: back, traps, and biceps
- Legs: hamstrings, quads, and calves
PPL routines are so efficient because the movements you’re doing provide maximum overlap within the muscle groups you’re working that day. When you envision the body as a complete system, the PPL exercises tap into the synergies between all of the muscles within each group and bolster the benefits exponentially.
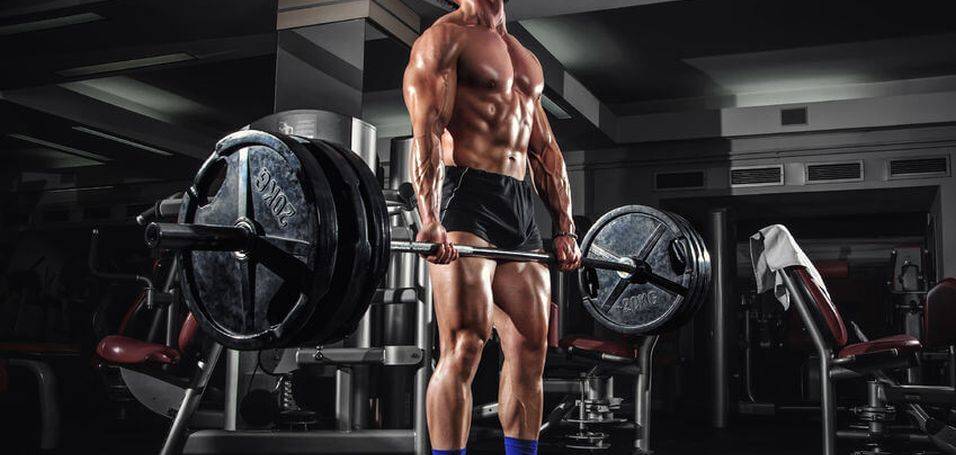
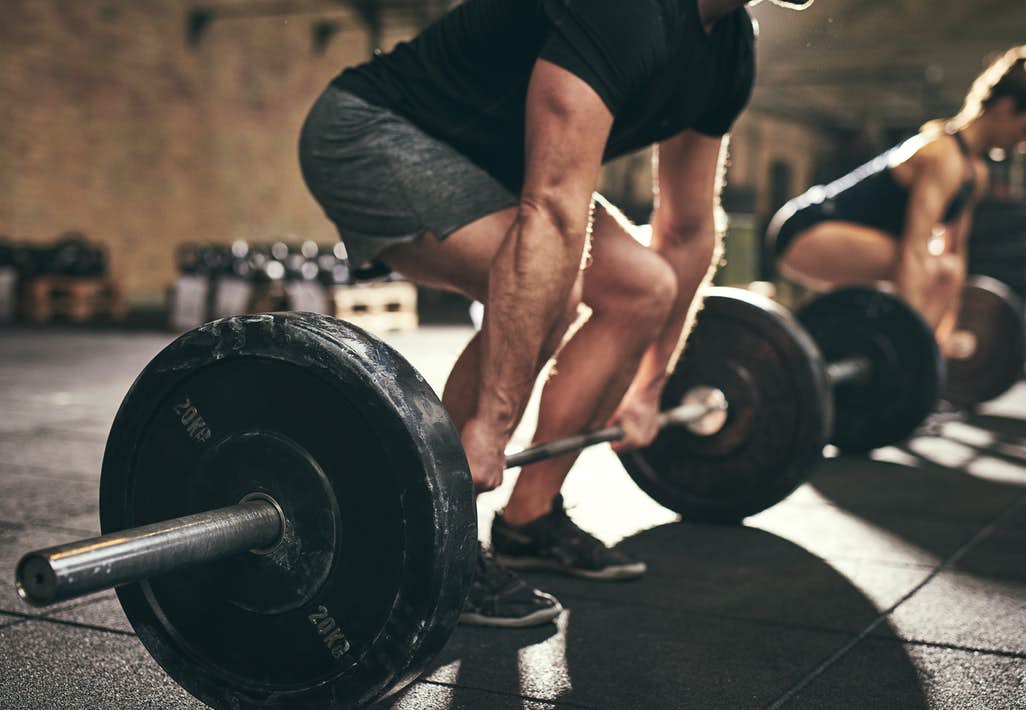
For example, deadlifting is a back exercise that also works your lats, traps, and part of your obliques. Or, the bench press requires you to use your deltoids and your triceps.
While there’s maximum overlap within muscle groups during each workout, there is little overlap between different muscle groups. Your chest, for instance, is worked very little on pull day.
Why PPL Programs Emphasize Compound Lifts
Within your PPL workout plans, you will almost always see a heavy emphasis on compound lifts. The most crucial compound lifts are:
- Overhead press: Push
- Deadlift: Pull
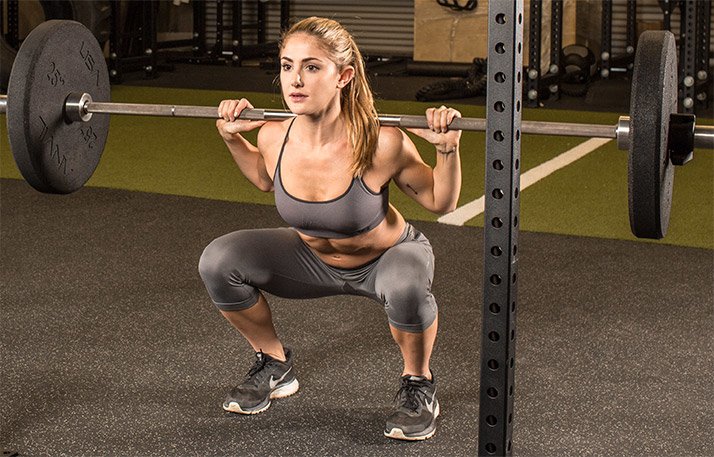
- Squat: Legs
Compound lifts are defined as lifts that stress multiple joints, and the muscles surrounding those joints. They offer more bang for your buck in terms of muscle engagement, and because they stimulate growth in so many different muscles, compound lifts also burn more calories.
Compound lifts also build strength in a more well-rounded way. For example, by engaging your entire posterior chain, the squat builds strength throughout your lower body instead of only making one muscle stronger.
If you can’t see the value in building strength across multiple muscle groups, think of how many physical activities you’ve taken part in that only worked a single muscle. The answer is probably zero.
The way compound lifts are scheduled will vary from program to program, but generally speaking, all PPL programs will center around them. The reason for this is simple:
Compound lifts, because they involve multiple muscle groups, will always be your heaviest lifts. And the more your load, the more you grow so it’s obvious why you should seek the heaviest lifts possible for your programming.
Think about it, a bicep curl only engages the bicep. The bench press recruits strength from your chest, triceps, and parts of your shoulders and back. Which lift will you be able to load heavier?
This makes compound lifts a great measure of your overall strength, and also makes linear progression easier.
Why Linear Progression Is Easiest With PPL Routines
Linear progression is a simple, important concept at the core of effective beginner routines. Essentially, it means you get stronger with every workout, and it works by employing progressive overload—a method of lifting wherein you place more stress (heavier weight) on your muscles with each workout.
Programs like Starting Strength emphasize this by having trainees add 10 lbs to their major lifts in each workout over the beginning period of the program. So if you started off only being able to bench the bar, you would add 10 lbs to your lift each with every workout until you couldn’t add 10 lbs anymore. Then, you’d add 5 lbs until you couldn’t add 5 anymore. Then you’d add 2.5 until you couldn’t add 2.5 anymore.
Linear progression allows you to quickly add strength, but it requires two things:
- Proper diet
- Adequate recovery time
Programs like Starting Strength advocate drinking a gallon of milk a day along with your normal diet just to get enough calories in to sustain that growth. Sleep is also critical—if you’re not resting enough for your muscles to grow, you won’t hit your goals.
However, you also need enough time between workouts for your muscles to recover and be at full strength before you re-target them. This is where PPL routines really help.
Remember that compound lifts like the bench press recruit muscles from a number of different groups. If any of those groups are at less than full strength, you won’t be able to hit your maximums and push yourself to grow on your compound lifts.
This is why PPLs are so much better than a standard “bro split.” A bro split is a workout routine that targets specific muscle groups every day of the week, like:
- Monday – Chest
- Tuesday – Back
- Wednesday – Shoulders
- Thursday – Legs
- Friday – Arms
- Saturday – Rest
- Sunday – Rest
Now imagine you sat down to bench Monday, having just hit arms Friday. Your triceps, which are critical to a good bench, are on two days rest, while your shoulders on 4 days rest, your back is on 5 days rest, and your chest has had a full week off.
All of your muscles needed for your big lift are at different stages of recovery. Some are fully rested and ready to crank, and some aren’t ready to handle the load. You simply cannot push yourself to the highest degree with such uneven rest.
PPL programs fix that by grouping your muscles accordingly. Your push day exercises do not target the same muscles as your pull day exercises or your leg day exercises. This gives your muscles adequate time to recover and push their limits with every workout.
Why Use A Push/Pull/Legs Split?
The push/pull/legs split is probably the most efficient workout split there is because all related muscle groups are trained together in the same workout.
This means that you get the maximum overlap of movements within the same workout, and the muscle groups being trained get an overall benefit from this overlap.
For example when you train chest with say bench press, you are also hitting your anterior deltoids and triceps hard. And when you train shoulders you are again involving your triceps. So it makes sense to work these all together in the same workout for maximum synergy and effectiveness.
Similarly when you train your back your biceps are heavily involved, so it again makes sense to train these immediately afterwards so that they can derive the maximum benefit from the additional stimulation.
It also means you will have minimum overlap of movements between workouts, and this will facilitate better recovery than most other body part splits.
Who Should Use A Push/Pull/Legs Split?
The push/pull/legs split is ideal for both the intermediate and advanced trainee.
More specifically though, if you are just starting out or have not had much in the way of results from your efforts so far, you’ll almost certainly do best with a full body workout routine, training three days per week. Stick with this for at least six months – more if you are still progressing well.
Hint: knowing your exact Maintenance Calories (TDEE) is the first step if you want to build muscle or lose fat.
Once you hit the intermediate stage however you’ll probably find you’ll do better with an upper/lower split routine training three or four days per week. And this is in fact one of the best ways to train for the vast majority of the population.
But at any time past the beginner stage you may find the push/pull/legs split suits you better. Or you may wish to alternate upper/lower splits with a push/pull/legs split in order to derive all the benefits that each has to offer.
Either way the push/pull/legs split is an extremely effective method of training that is certain to give you exceptional results if you apply yourself to it diligently.
The push/pull plan also allows you to introduce micro-cycles in your training. That is, one push day you may focus on heavier, strength-style training while the second may involve higher-rep, hypertrophy-focused lifts.
This push/pull workout allows you to hit the major upper body muscles hard on days one and two before targeting your legs and core on day three.
Splitting your sessions based on the different movements prevents the muscle groups from being over trained, which can lead to injury. But because you’ll be exclusively training specific muscles, you’ll be able to hit the gym more. It’s the best way to build more muscle and burn more fat.”
Rest for no more than 60 seconds between each set. Do the exercises in each set in one go with no rests.
Day 1: Pull
1. Pull-up
Sets 4 Reps 6
How to:
- Grasp a pull-up bar with an overhand grip so your palms are facing away from you and your hands are shoulder-width apart.
- Contract your upper back muscles to help pull your chest towards the bar.
- Lower under control.
2. Bent-over row
Sets 3 Reps 8
How to:
- Holding a barbell with an overhand grip just outside your legs, bend your knees slightly and hinge forwards from the hips, keeping your back slightly concave and your shoulder blades back throughout.
- Pull the weight up to your lower chest, then slowly return to the start.
3. Barbell curl
Sets 3 Reps 10
How to:
- Hold a barbell with your hands shoulder-width apart and palms facing forwards.
- Keeping your chest up and elbows close to your sides, curl the bar up until it’s level with the top of your chest.
- Lower under control.
4. Cable row
Sets 2 Reps 12
How to:
- Sit with your feet against the supports, bending your legs slightly.
- Grasp the handle, using the attachment so your palms are facing, retract your shoulder blades and sit upright.
- Without leaning back, pull the handle towards your lower chest.
5. Lat pull-down
Sets 1 Reps 20
How to:
- Sit in the seat with your knees firmly under the support.
- Grab the wide bar with hands double shoulder-width apart, palms facing forwards, retract your shoulder blades and sit upright.
- Without leaning back, pull the handle down in front of your face until it’s level with your chin.
Day 2: Push
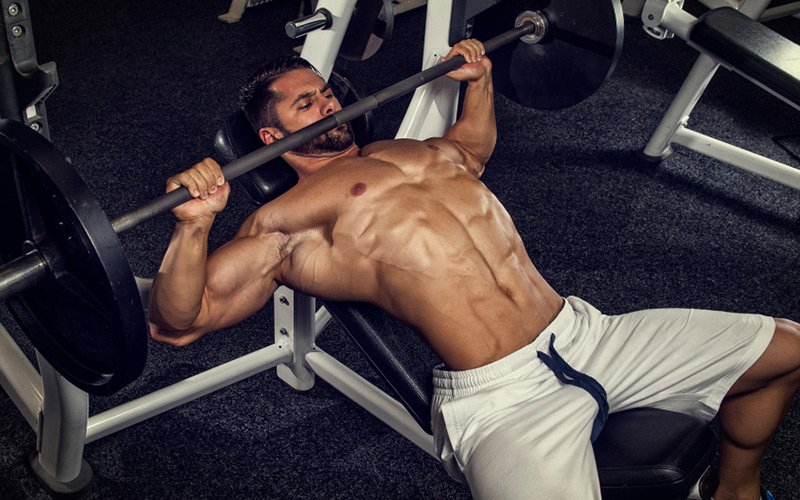
1. Bench press
Sets 4 Reps 6
How to:
- Lie on a flat bench holding a barbell with an overhand grip, hands just wider than shoulder-width apart.
- Drive your feet hard into the floor and press the weight straight up powerfully, then lower slowly to the start position.
2. Decline bench press
Sets 3 Reps 8
How to:
- Lie on a bench set at a slight decline, holding barbell with an overhand grip, hands just wider than shoulder-width apart.
- Press the weight straight up powerfully, then lower slowly to the start position.
3.Incline bench press
Sets 3 Reps 10
How to:
- Lie on a bench set at a 45° angle holding a bar with an overhand grip, hands just wider than shoulder-width apart.
- Drive your feet hard into the floor and press the weight straight up powerfully, then lower slowly to the start position.
4.Overhead press
Sets 2 Reps 12
How to:
- With your feet shoulder-width apart, hold a barbell level with the top of your chest, hands just wider than shoulder-width apart.
- Keep your core and glutes braced so your hips don’t tilt forwards and press the bar straight overhead, driving your head forwards as you straighten your arms to engage your upper back.
- Lower back to the start.
5.Clap press-up
Sets 1 Reps 15
How to:
- Get into the top of a press-up position with your hands directly under your shoulders.
- Bend your arms to lower your chest almost to the floor, then drive up explosively to bring your hands off the ground and clap in front of your chest.
- Quickly put your hands back out to brace your fall and continue into the next rep.
- If you’re struggling, pause briefly between each rep.
Day 3: Legs And Abs
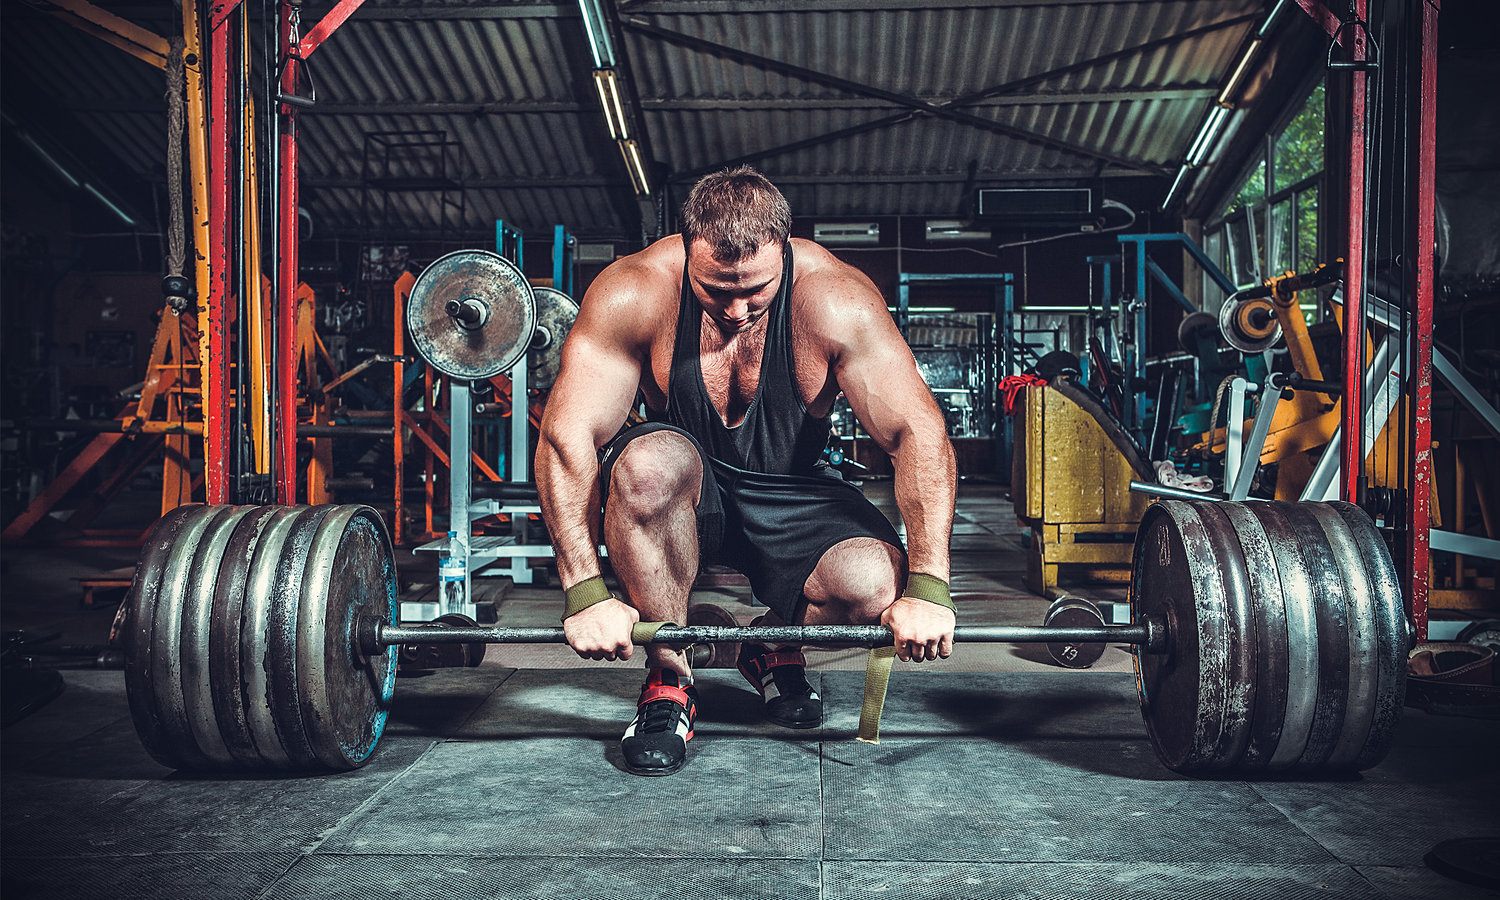
1. Deadlift
Sets 4 Reps 6
How to:
- Hold a barbell with hands shoulder-width apart and your arms straight, hips low and chest up so your back is straight.
- Keeping your core tight throughout, drive down through your heels and pull the bar up your legs, pushing your hips forwards to stand tall.
- Bend forwards, hinging at your hips until the bar is below your knees, then bend your legs to lower it to the floor.
2. Dumbbell squat
Sets 3 Reps 8
How to:
- Hold a dumbbell in each hand by your sides and stand with your feet shoulder-width apart.
- Keeping your knees wide apart and weight on your heels throughout, bend your legs to lower until your thighs are at least parallel with the floor.
- Then drive back up to standing.
3. Good morning
Sets 3 Reps 10
How to:
- Stand holding a barbell on the back of your shoulders, not your neck.
- Slowly bend forwards, hinging at the hips, keeping your legs and back straight.
- Bend until you feel a stretch in your hamstrings, then rise back to the start.
4. Jump lunge
Sets 2 Time 1min
How to:
- Start in a forwards lunge position with your hands in a sprinter’s stance for balance.
- Jump off the ground by driving up with your front leg.
- Swap your legs over in mid-air so you land with the other leg forwards.
- Keep alternating for one minute.
5. Hanging leg raise
Sets 1 Reps 20
How to:
- Jump up to grip a pull-up bar with your hands shoulder-width apart and palms facing forwards.
- Tense your core to stop your body swaying and raise your legs together until they’re at least parallel with the floor.
- Use your core to lower your legs under control.
Day 4: Rest
Rest day. Then repeat the workouts over the following days.
A Sample Push/Pull/Legs Split Routine
Here’s a great sample workout plan that is well structured and properly balanced; and it’s sure to give you exceptional results.
Workout 1 – Push
| Exercise | Sets | Reps |
|---|---|---|
| Bench Press | 3 | 5 – 7 |
| Seated Dumbbell Shoulder Press | 3 | 6 – 8 |
| Incline Dumbbell Press | 3 | 8 – 10 |
| Side Lateral Raises | 2 | 10 – 12 |
| Triceps Press downs | 2 | 8 – 10 |
| Overhead Triceps Extension | 2 | 8 – 10 |
Workout 2 – Pull
| Exercise | Sets | Reps |
|---|---|---|
| Bent-over Row | 3 | 5 – 7 |
| Pull Ups | 3 | 6 – 8 |
| Barbell Shrugs | 3 | 8 – 10 |
| Face Pulls | 2 | 10 – 12 |
| Barbell Curl | 2 | 8 – 10 |
| Dumbbell Hammer Curl | 2 | 8 – 10 |
Workout 3 – Legs/Abs
| Exercise | Sets | Reps |
|---|---|---|
| Squats | 3 | 6 – 8 |
| Romanian Deadlifts | 2 | 8 – 10 |
| Leg Press | 2 | 10 – 12 |
| Leg Curl | 2 | 10 – 12 |
| Calf Raise | 4 | 8 – 10 |
| Hanging Leg Raise | 2 | 10 – 15 |
The sets listed are your work sets. Always warm up properly first in order to prepare your body for the heavier work, and to help prevent injury. However another advantage of this split routine is that fewer warm-up sets are required as training each exercise/body part warms you up for the next.
.width60 {
border: 1px solid #000;
background-color: #000;
font-weight: 700;
color: #FFF;
padding: 1%;
-webkit-box-sizing: border-box;
box-sizing: border-box;
}